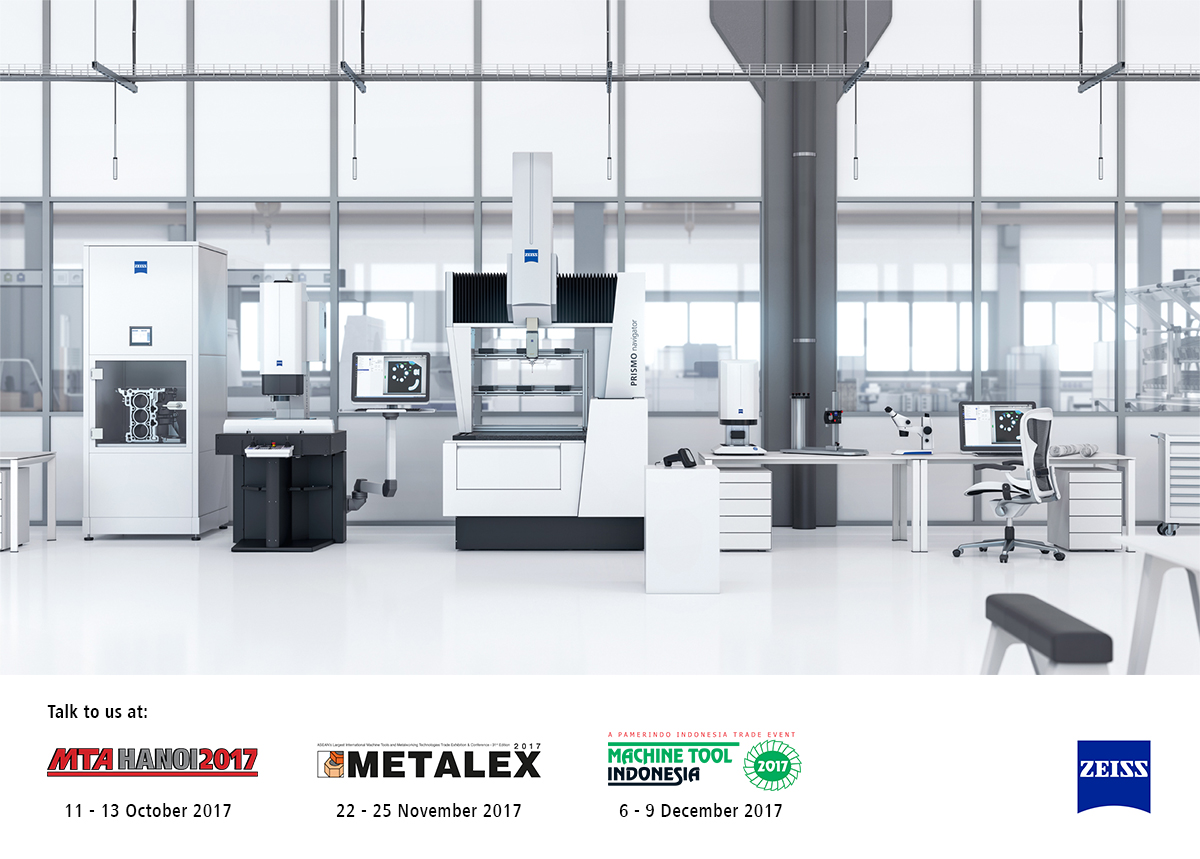
Although increasingly more quality data are being captured in- or at-line, for ZEISS, the measuring lab, along with the coordinate measuring machines located there, is as crucial as ever. Due to their high level of precision, measurements performed with coordinate measuring machines will be a key part of the Smart Factory.
“The measuring lab is as crucial as ever for ZEISS. Due to their high level of precision, measurements performed with coordinate measuring machines will be a key part of the Smart Factory,“ said Andrzej Grzesiak, Senior Director Metrology Systems at ZEISS.
At the heart of networked solutions is the range of measuring systems available for capturing the surface shape of industrially manufactured products. The greatest challenge is being able to compare the results from these different technologies. If all the effects of these various technologies are considered, then comparability is possible. However, this requires considerable time and effort. It is also important to keep in mind that new technologies enable manufacturers to obtain different types of information which is not immediately comparable with that obtained using traditional methods (e.g. information from the surface capture of complex objects with points from an individual point sensor). Thus it is all the more important that today‘s software solutions, such as ZEISS PiWeb, correlate the results in real time and visualize this data. Coordinate measuring machines (CMMs) provide a master plan for the other measuring processes because of their extreme precision.
Quick and efficient
ZEISS CALYPSO PMI significantly speeds up the creation of the necessary measurement plans. For the first time, it is possible to automatically combine the product and manufacturing information (PMI), which is increasingly standard in the CAD model, with the specified dimension, form and position tolerances in a single measurement plan. This means that measuring technicians only work with the values currently stipulated in the design for the workpiece, saving them a significant amount of time and effort. Quality experts can invest this extra capacity in defect analysis and prevention, which ultimately lowers the reject rate and increases manufacturing efficiency.
Digitalizing the measuring lab
In order to ensure optimum measuring conditions, ZEISS launched the ZEISS TEMPAR temperature monitoring system. It uses nine sensors to capture the prevailing temperature in the measuring lab. This ZEISS system can do one better than temperature loggers measuring and recording the temperature. Not only do the sensors distributed around the lab measure the temperature with an accuracy of 25 Millikelvin, they are also networked and automatically record the temperature profile for the entire measuring lab. TEMPAR visualizes both the temperature fluctuations over a set period of time as well as the change in temperature in relation to the particular sensor‘s location in the lab. If the values calculated by TEMPAR are outside the specified thresholds, the system warns the operator or measuring lab manager via an indicator light, color-coded values on the monitor and, if desired, via email. And, of course, the ambient temperature data can also be automatically transferred to ZEISS PiWeb quality data management software and compared with other values.
Target-oriented data analysis
Measuring technology has always produced large quantities of data. The challenge was to find a way to evaluate these to obtain information for steering manufacturing. Enter ZEISS PiWeb - the software is a scalable IT solution for quality management. Measuring technicians can use it to analyze the flow of information, enabling them to drive both product quality and productivity within the company. ZEISS PiWeb networks all metrology solutions, compiling all the data acquired from the machines. Networking these systems enables measuring technicians to check if the quality stipulations have been met by using the report function, all in real time and across departmental silos.
However these technological developments will also fundamentally change the role of the measuring technician. “Measuring experts will assume new and different tasks, which will require further training. As I see it, the measuring technician of tomorrow will be even more of an analyst and decision maker,“ says Grzesiak. Information will be derived from data, and knowledge will then be derived from this information. Grzesiak can envision there being “quality consultants, people who lay the foundation for the perfect production workflow. And they will not just be involved in planning the manufacturing process, but will also work closely with the designers, as they will need these quality consultants‘ metrology know-how. This transformation will require cross-departmental cooperation as these teams work together to advance the Smart Factory.“
Download the full article at: https://www.zeiss.com.sg/metrology/metrology-solutions/brochures.html?catalog=innovation-20_full
Off White X Max 98


